

Bath bombs have always been one of those great gift ideas that can feel overwhelming and hard. The packing of the molds, the iffy nature of the mixture actually holding together. All of the potential problems kept me from even trying and opting for the much more simple bath salts for gift giving needs.
This month, however, I was determined to give making bath bombs a try with the help of Jan Berry’s Book, Natural Bath Bombs, I felt prepared to conquer my bath crafting fears.
While I am definitely not a bath bomb making expert, I learned more than a few things in my first few attempts that are worth passing on. Like anything, practice will make it easier if not perfect. Making bath bombs is a worthwhile skill for self-care and gift-giving alike so use these tips and get crafting in your own home.
Tip 1: Moisture is Key
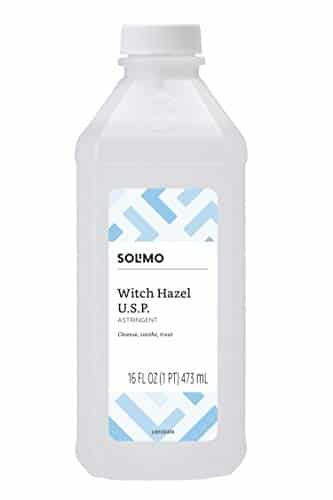
Too little moisture in the bath bomb mix and it won’t hold together. Too much moisture and the bath bomb will never come out of the mold. I know because I had both problems. A spray bottle filled with witch hazel is your saving grace here.
Moisture is the number one thing to be aware of when troubleshooting any bath bomb issues.
Mix up the bath bomb recipe. Try to squeeze some together into a ball. If it holds without crumbling, it’s good to start putting into the molds. If it crumbles spritz the mixture with witch hazel, mix and try again until it holds together.
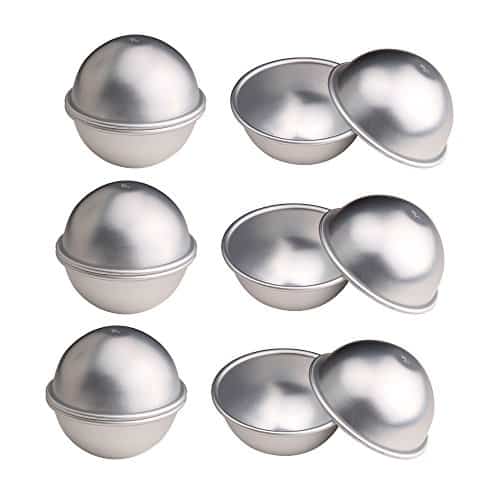
Tip 2: Lightly Pack the Molds
The first couple bombs I tried making I filled the mold halves like I was packing a cup of brown sugar for baking. This didn’t work for a number of reasons. It was hard to get the mold half to join.
When I was able to get them to join, it was almost impossible to get the bomb to come out of the molds in one piece. I had to reread Jan’s tips several times to get the ‘lightly pack’ and ‘overfill the molds.’ These are important steps towards success.
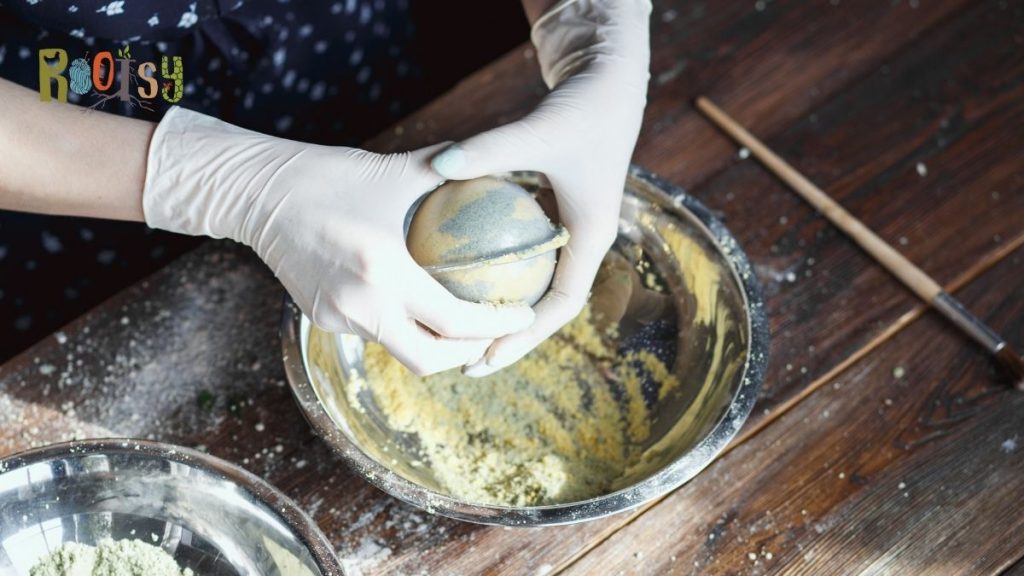
Tip 3: Tapping the Molds
It was easiest to get the bomb out of the mold in one piece by tapping it on the table a few times. Twisting it off, often meant crumbling a bit of the bath bomb. The light tapping and a gentle tug got off the most stubborn molds (after I got the moisture ratio correct see tip #1).
Tip 4: Use a Timer
Jan recommends taking the top of the mold and letting the bomb sit in the bottom of the mold for 15 minutes. Set a timer. Seriously. Too early and it’s likely going to crumble or flatten on the bottom.
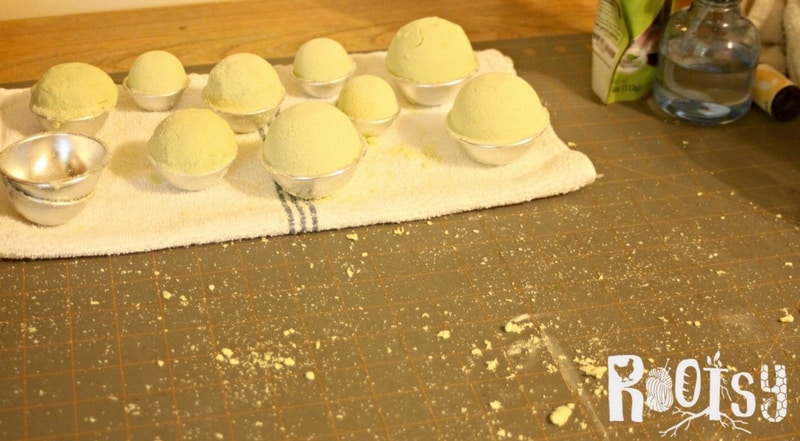
Tip 5: A Dedicated Workspace
I suppose some folks could do this without making a mess. I am not one of those folks. At least not the first time. I can see where it could get neater with practice. Work in a space that is easy to wipe down and clean.
Also, work in a space where the bath bombs can sit and dry. Jan recommends leaving the bombs sitting on a towel for 24 to 48 hours. I live in a dry climate, 24 hours was plenty of time. More humid locations might need the 48 hours. Having the bath bombs sitting on a table out of the way for this time is going to make life easier. It will also increase success so that no accidents happen and destroy the bath bomb.

Having a dedicated workspace is super important if your making bath bombs with kids – as there will certainly be a mess.
Tip 6: Don’t Be Afraid to Start Over
It’s easy to get frustrated with this process. It seems so straightforward and the recipes are easy and yet so much can go wrong. If the molds don’t stick together, dump it back into the bowl and start over. If the mixture is too wet and it sticks to the mold, dig it out and dump it back into the bowl. Let it dry for a bit and begin again.
Want to learn more about making natural bath bombs? Find our favorite resource full of recipes, tips, and more here.


These tips are very helpful and appreciated. My daughter and I have made many bath bombs. Some from kits and lots of diy. The last few haven’t held together so I’ve just left them in the mold until ready to use. The downfall of that is can’t make more than 1 at a time.
We’re so glad these tips helped you! Bath bombs are so fun, but they can be a bit fiddly.
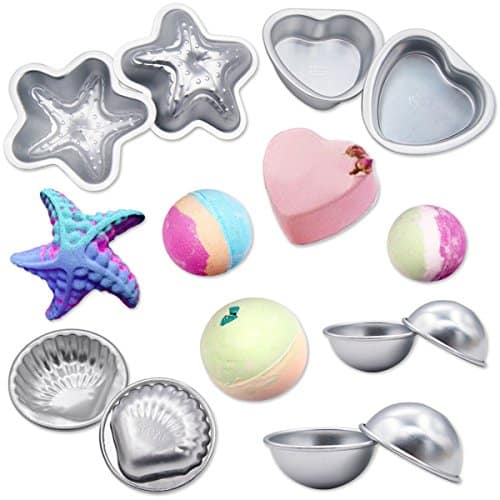
Where is the receipt for bath bombs. I would like to make mini bath bombs what do I use for round mini bath bombs?
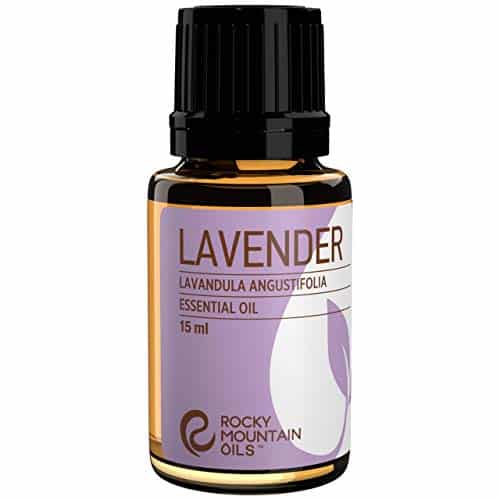
This article is tips on how to make bath bombs. There are recipes in the book listed in the article or you can try this lavender bath bomb which is a good beginner recipe.
Thank you for your tips. I got frustrated too in the beginning and want to start up again. Can you share the lavender bath bomb recipe with me? Also how many bath bombs come out of this recipe if I purchase the WarmBuy Molds? Thanks!
You can find the lavender bath bombs here, https://thenerdyfarmwife.com/diy-lavender-bath-bombs/.
Hi…. Thank you for the advice. I have tried several times but to no avail. I am willing to try again because of your tips. I used to much moist and the bombs started to activate.
Thank you, so easy to follow. Straight and to the point.